
Roof replacement is a significant home improvement project that requires careful planning and execution. Here’s a step-by-step guide to help you understand the process of roof replacement in Medway.
The first step in any roof replacement project involves an assessment of the existing roof. This entails checking for signs of damage such as missing or broken shingles, leaks, or sagging areas. It’s also crucial to examine the attic space for signs of water damage, mold growth, or insulation issues. If the damage is extensive and beyond repair, it might be time to consider replacing your entire roof.
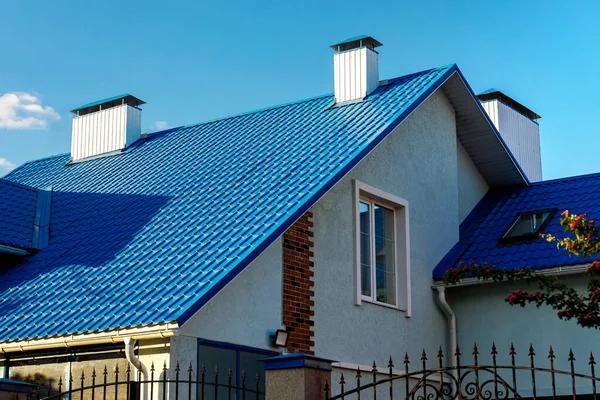
Once you’ve determined that a roof replacement contractor is necessary, it’s time to select your roofing materials. In Medway, homeowners typically opt for asphalt shingles due to their durability and affordability. However, other options like metal roofing or tiles are also available depending on your budget and aesthetic preferences.
After selecting your materials, it’s time to hire a reputable roofing contractor in Medway. Look for professionals with positive reviews who are licensed and insured. Always ask for quotes from multiple contractors before making a decision.
Before work begins on your new roof installation, ensure that all necessary permits have been obtained from local authorities in Medway. The contractor usually handles this process but make sure they do so because working without proper permits can lead to fines or legal trouble down the line.
On commencement day of the actual work, the old roofing material will be stripped off down to the deck board. Any damaged boards would then be replaced at this stage before installing new felt paper over them as an extra protective layer against moisture infiltration.
Next comes laying out new shingles according to manufacturer instructions which often start from bottom up – lower edge towards peak of your house; ensuring each row overlaps previous one by certain amount specified by manufacturer guidelines thus creating watertight seal against rainwater entry into house interior spaces through gaps between individual shingle pieces.
The final steps involve installing flashing around chimneys, vents, and other roof projections to prevent water leakage. Drip edges are also installed along the eaves of your roof to guide water away from the fascia and into the gutters.
Lastly, after all roofing materials have been properly installed, a thorough cleanup is conducted to remove any debris or leftover materials. The contractor then conducts a final inspection to ensure that all work has been carried out properly and meets local building codes.
In conclusion, roof replacement in Medway is not a small task but with proper planning and execution following this step-by-step guide, you can ensure that your new roof will serve you well for many years to come.
Rocky Mountain Roofing and Exteriors
895 Laredo St Suite C, Aurora, CO 80011
720-783-3257